Deploying Astro 5 on Dokploy
by Jakub Nalewajk on March 10, 2026
On this page
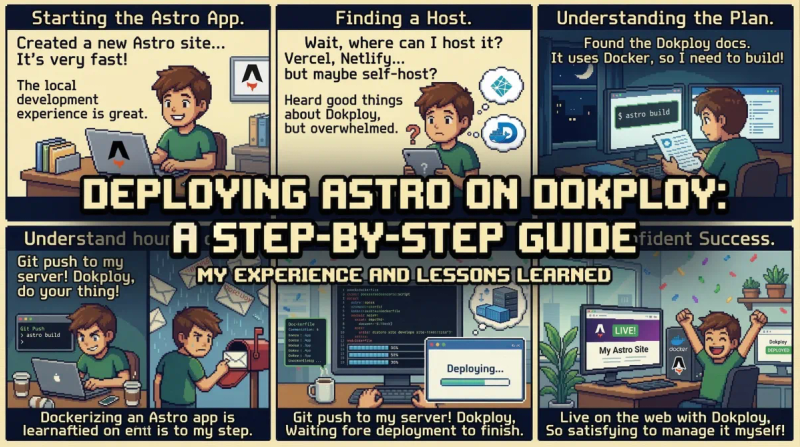
Most Astro tutorials tell you to deploy to Vercel and that is it. What if you want to be in control of your infrastructure, not be tied to one vendor and be able to run many apps on one VPS? That is why I moved my portfolio from Vercel to a self-hosted setup with Dokploy.
In this guide I will walk you through the process of deploying an Astro 5 site with SSR on your VPS using Dokploy, Traefik as a reverse proxy and Docker.
Why Self-Host?
Vercel is great for deploys but self-hosting gives you:
- Control over costs — one VPS can run many apps instead of paying for each project
- Full control over your infrastructure — no surprises, no limits, no vendor lock-in
- A chance to learn — understanding Docker, reverse proxies and networking makes you a better developer
- Privacy — your data stays on your machine
I am running my portfolio, two Next.js apps and a database server all on a single €7/month VPS.
Prerequisites
Before we start you will need:
- A VPS with Ubuntu 22+ (I use Hetzner but any provider works)
- A domain name with DNS access (I use Cloudflare)
- Dokploy installed on your VPS
- An Astro 5 project with the Node.js adapter
Step 1: Configure Astro for Node.js
Astro needs the @astrojs/node adapter to run as a standalone server instead of generating static files for a CDN.
npm install @astrojs/nodeUpdate your astro.config.mjs:
import node from "@astrojs/node";

export default defineConfig({
  adapter: node({
    mode: "standalone",
  }),
  // ... rest of your config
});
The standalone mode creates a self-contained server that you can run with node ./dist/server/entry.mjs.
Step 2: Write the Dockerfile
This is where most people get stuck. Here is a multi-stage Dockerfile that keeps the image small:
FROM node:22-alpine AS base
WORKDIR /app

FROM base AS deps
COPY package.json package-lock.json ./
RUN npm ci

FROM base AS build
COPY --from=deps /app/node_modules ./node_modules
COPY . .
RUN npm run build

FROM base AS runtime
COPY --from=build /app/dist ./dist
COPY --from=build /app/node_modules ./node_modules
COPY package.json .

ENV HOST=0.0.0.0
ENV PORT=3000
EXPOSE 3000

CMD ["node", "./dist/server/entry.mjs"]
Key decisions here:
- Multi-stage build — the
depsstage cachesnode_modules, thebuildstage compiles and theruntimestage only contains what is needed to run HOST=0.0.0.0— critical. Without this the server only listens on localhost inside the container and Traefik cannot reach itPORT=3000— match this with your Dokploy domain config
Do not forget the .dockerignore:
node_modules
dist
.git
.env
Step 3: Set Up Dokploy
If you do not have Dokploy installed yet:
curl -sSL https://dokploy.com/install.sh | shOnce Dokploy is running create an application:
- Go to Projects → Create Project
- Add an Application → GitHub as the provider
- Connect your repository and select the branch
- Set the build type to Dockerfile
Environment Variables
In Dokploy’s Environment Settings add your env vars:
PUBLIC_RECAPTCHA_KEY=your_key
RECAPTCHA_KEY=your_secret_key
RESEND_API_KEY=re_xxxxx
These are injected at runtime by Docker so you do not need them in your Dockerfile.
Domain Configuration
In the Domains section:
- Add your domain (e.g.
jnalewajk.me) - Set the port to
3000(matching your Dockerfile’sENV PORT) - Select HTTPS with Let’s Encrypt
- Click Generate to create the Traefik config
Step 4: Configure DNS
In your DNS provider (I use Cloudflare) point your domain to your VPS:
| Type | Name | Content | Proxy |
|---|---|---|---|
| A | @ | your.vps.ip | DNS only |
| CNAME | www | yourdomain.com | DNS only |
Important: Use DNS only (grey cloud in Cloudflare), not Proxied. Traefik handles SSL via Let’s Encrypt and Cloudflare’s proxy would cause certificate conflicts.
Step 5: Traefik Configuration
Dokploy auto-generates a Traefik config for your app. You will likely want to customize it for compression and www redirects. Here is what my config looks like:
http:
  routers:
    app-router:
      rule: Host(`jnalewajk.me`)
      service: app-service
      middlewares:
        - redirect-to-https
      entryPoints:
        - web
    app-router-secure:
      rule: Host(`jnalewajk.me`)
      service: app-service
      middlewares:
        - compress
      entryPoints:
        - websecure
      tls:
        certResolver: letsencrypt
    www-router:
      rule: Host(`www.jnalewajk.me`)
      service: app-service
      middlewares:
        - www-to-non-www
      entryPoints:
        - websecure
      tls:
        certResolver: letsencrypt
  middlewares:
    compress:
      compress: {}
    www-to-non-www:
      redirectRegex:
        regex: "^https?://www\\.jnalewajk\\.me/(.*)"
        replacement: "https://jnalewajk.me/${1}"
        permanent: true
  services:
    app-service:
      loadBalancer:
        servers:
          - url: http://your-container-name:3000
        passHostHeader: true
The compress middleware enables gzip/Brotli compression and the www-to-non-www middleware handles 301 redirects from www to the naked domain.
Step 6: Handle Build-Time vs Runtime Env Vars
This is a common problem with Astro and Docker. There are two types of env vars:
Build-time (needed during npm run build):
PUBLIC_*vars that get inlined into client-side JavaScript- These need to be passed as
ARGin your Dockerfile
FROM base AS build
ARG PUBLIC_RECAPTCHA_KEY
ENV PUBLIC_RECAPTCHA_KEY=$PUBLIC_RECAPTCHA_KEY
RUN npm run build
In Dokploy set these in the Build Arguments section, not Environment Variables.
Runtime (needed when the server runs):
- Server-side secrets like API keys
- These go in Dokploy’s Environment Variables section and are injected into the container at runtime
Step 7: Deploy
Hit Deploy in Dokploy. It will:
- Clone your repository
- Build the Docker image using your Dockerfile
- Start the container
- Traefik automatically routes traffic and provisions SSL
Check the build logs for any errors. Common problems:
- Build fails — missing build args for
PUBLIC_*env vars - Container starts but 502 — wrong port or
HOSTnot set to0.0.0.0 - SSL not working — DNS not propagated yet or using Cloudflare proxy mode
Step 8: Set Up Auto-Deploy
In Dokploy enable auto-deploy from your GitHub repository:
- Go to your app settings
- Enable Auto Deploy on push to your branch
- Dokploy will rebuild and deploy automatically on every push
SMTP Problem
If your app sends emails (like a contact form) be aware that many VPS providers block outbound SMTP ports (25, 465, 587). I found this out when my Nodemailer setup hung indefinitely.
The fix: use an API-based email service like Resend instead of SMTP. It uses HTTPS (port 443) which is never blocked.
import { Resend } from "resend";

const resend = new Resend(process.env.RESEND_API_KEY);

await resend.emails.send({
  from: "noreply@yourdomain.com",
  to: "you@gmail.com",
  subject: "Contact form",
  html: renderedHtml,
});
Final Result
I have my Astro 5 site deployed on Dokploy and it works great. I can run multiple apps on one VPS and I have full control over my infrastructure.
My portfolio is running on a Hetzner VPS alongside two other apps with:
- Automatic SSL via Let’s Encrypt
- Gzip compression via Traefik
- Auto-deploy from GitHub
- Zero monthly cost beyond the VPS (€7/month for everything)
It took me about one hour to set everything up and it has been running solid since then. If you know the basics of Docker there is no reason to stay on Vercel’s free tier with its limitations.
The source code for my portfolio is on GitHub if you want to see the Dockerfile and configuration.